Configuration Guide
Once you’ve installed your Post Connector plugin, you’re ready to use all the awesome functionality of the plugin. In this Configuration Guide, we’ll explain the basics of Post Connector.
To do this, we will connect three posts and show the result on the front end.
Create a new Connection
We’ll start our tour in the backend. After you just installed Post Connector the admin will look like this:
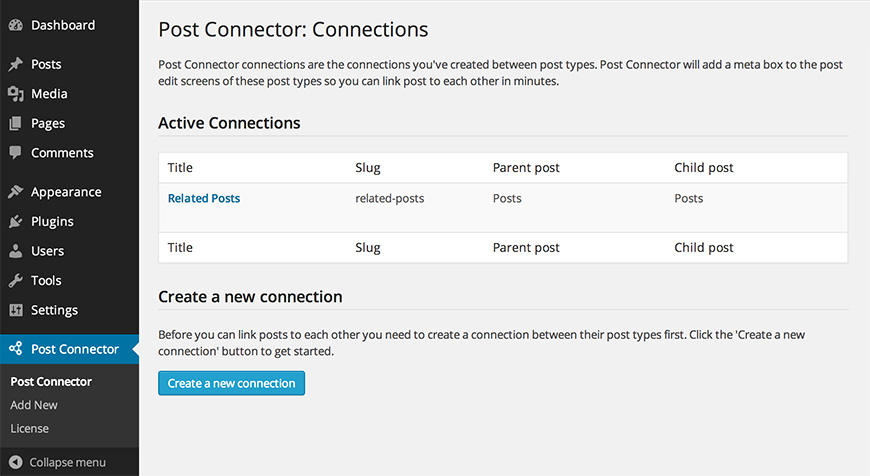
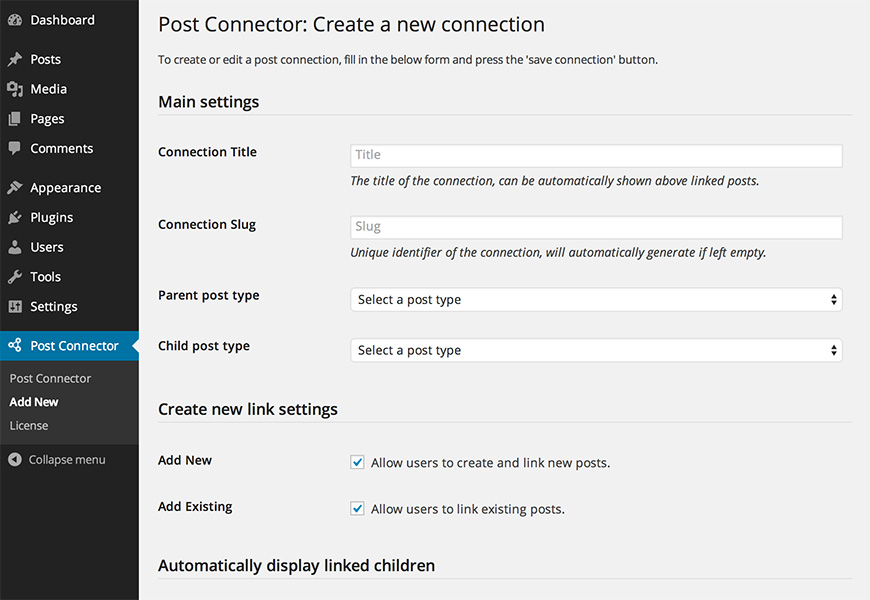
Start by clicking ‘Create a new connection’. You can now fill in the most important information about your connection;
- Title This is the name of your connection. Duplicates are allowed, but discouraged.
- Slug This is the identifier for your connection. It should have a unique value, no other connection can have the same slug. If left blank this field will automatically be generated.
- Parent In this guide we’ll be connecting post with each other. You may want to connect other (Custom) Post Types. Here you can select what type the parent should have.
- Child In this guide we’ll be connecting post with each other. You may want to connect other (Custom) Post Types. Here you can select what type the children should have.
- Add New When set you ‘yes’, you will be able to create new posts from the admin, as we’ll see later in this guide. (default: Yes)
- Add Existing Do you want to be able to connect already existing posts? (default: Yes)
- Display linked children? Check this field if you want linked children to be displayed under your content automatically.
- Display linked parents? Check this field if you want linked parents to be displayed under your content automatically.
- Sortable Should the connections be sortable? (default: Yes).
- Enable related connection If checked related posts will be indexed and suggested when linking posts.
- Enable backwards linking Backwards linking allows users to link parents to children from within the child post.
Our example now looks like this:
Once you set up these fields, press Save. Your connection is now saved and ready to be used.
Add children to a parent
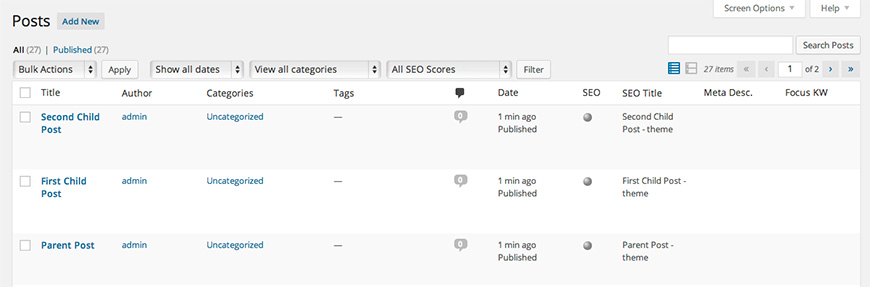
Next we go to our posts. We’ve created three posts to work with in this guide. That looks as follows:
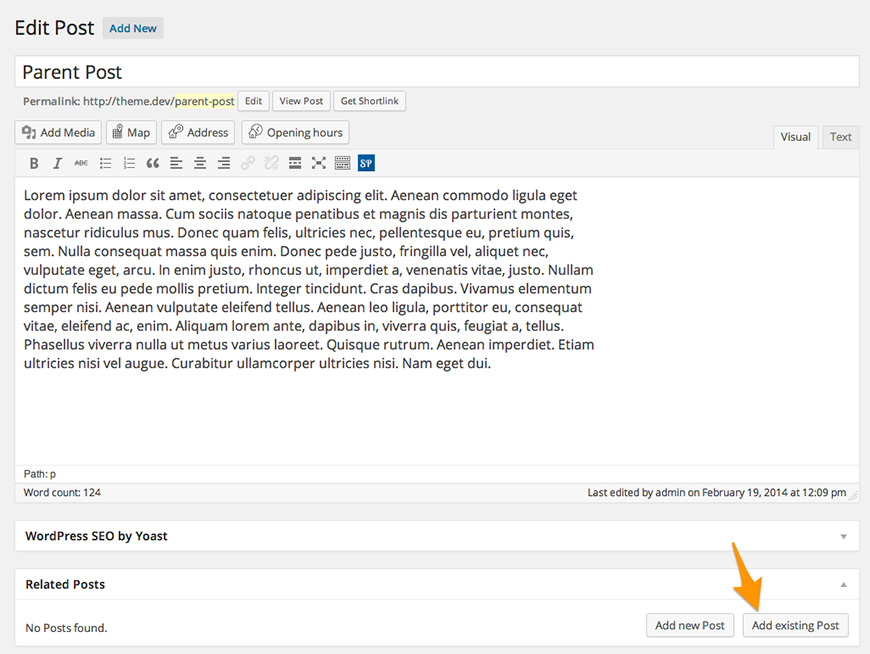
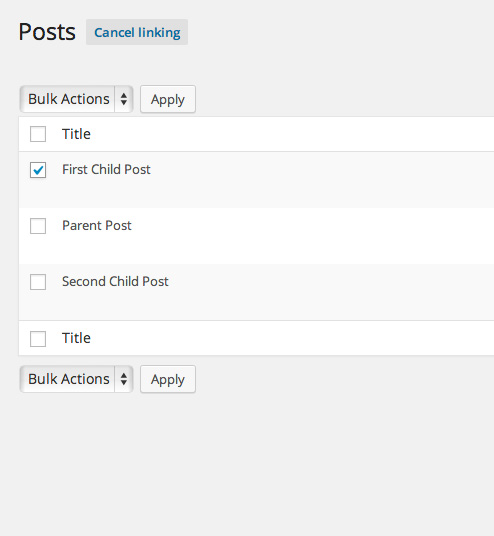
It’s time to connect some posts! Go to Parent Post and click Edit. Scroll down to the Related Posts Metabox and click ‘Add Existing Post’.
You’ll see a list with all items of your target type (in our example: Posts). You can select one or more and then click ‘Apply’.
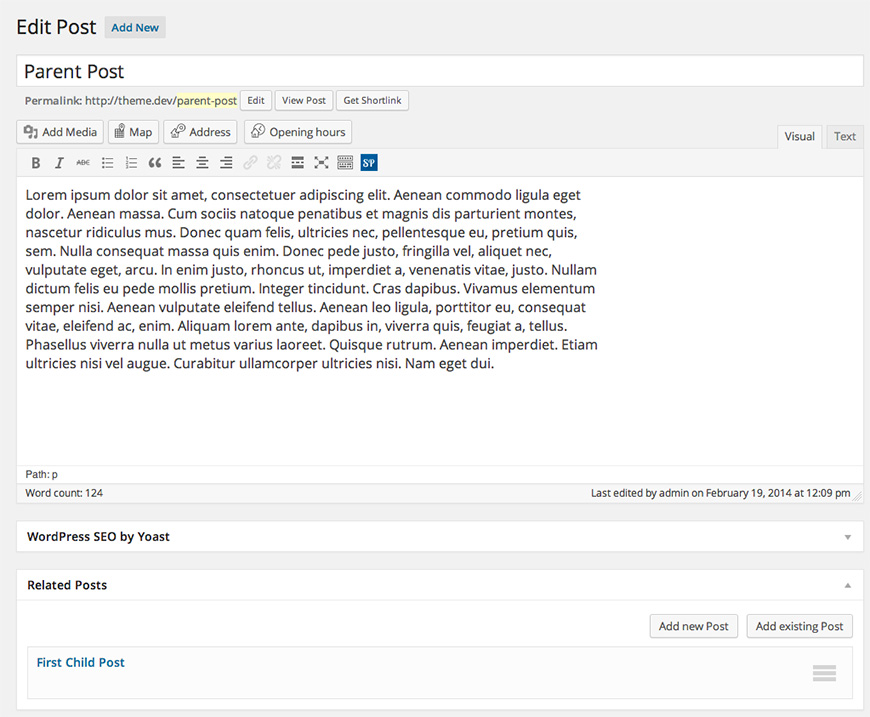
The plugin will return you to the (post)edit-screen where you’ll see the following:
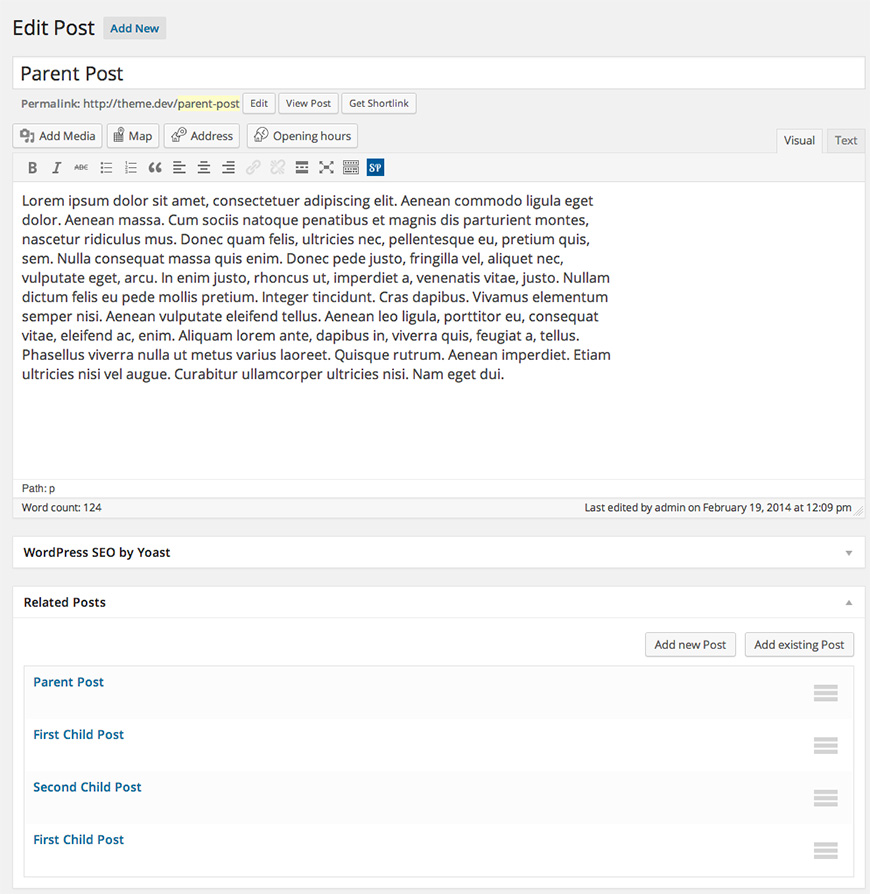
You can add more items by repeating the previous steps or by adding new items. We will add some more posts, including this post itself (yes, this is possible). If you want to change the order of the children, you can just drag them to the right position. Our Parent Post now looks like this:
Using the Post Connector shortcode
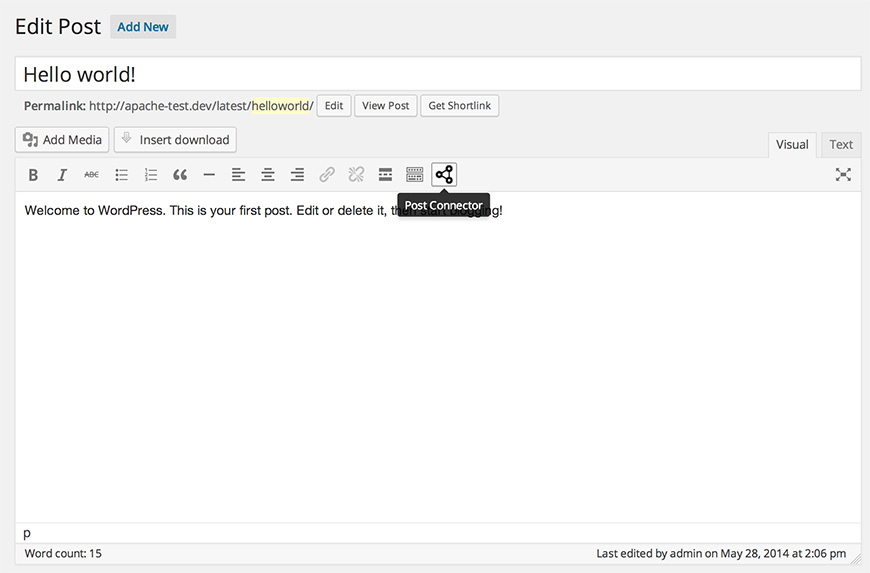
Now we’ve created a connection and added children to a post it’s time to create some output with it. There are two ways to use Post Connector. The first is by adding a shortcode to the content of the post. Therefore we click the Post Connector button:
A popup that allows us to select some options opens. Here we can set four options.
- Connection Select the connection you want to use in the shortcode. In this guide ‘Related Posts’.
- Parent Select the parent of which you want to show the children. You can select either one of the available items of the ‘parent type’ (in our example Posts) or you can select ‘Current page’. In a shortcode this means ‘current item’.
- Make children clickable Should the children be presented as links or as plain text? Select ‘yes’ to present them as links.
- Display excerpt Selecting ‘Yes’ (as we will in this example) will show the excerpt of every child. Selecting ‘No’ will only show the titles of the children.
Click ‘Insert Shortcode’ to insert the shortcode.
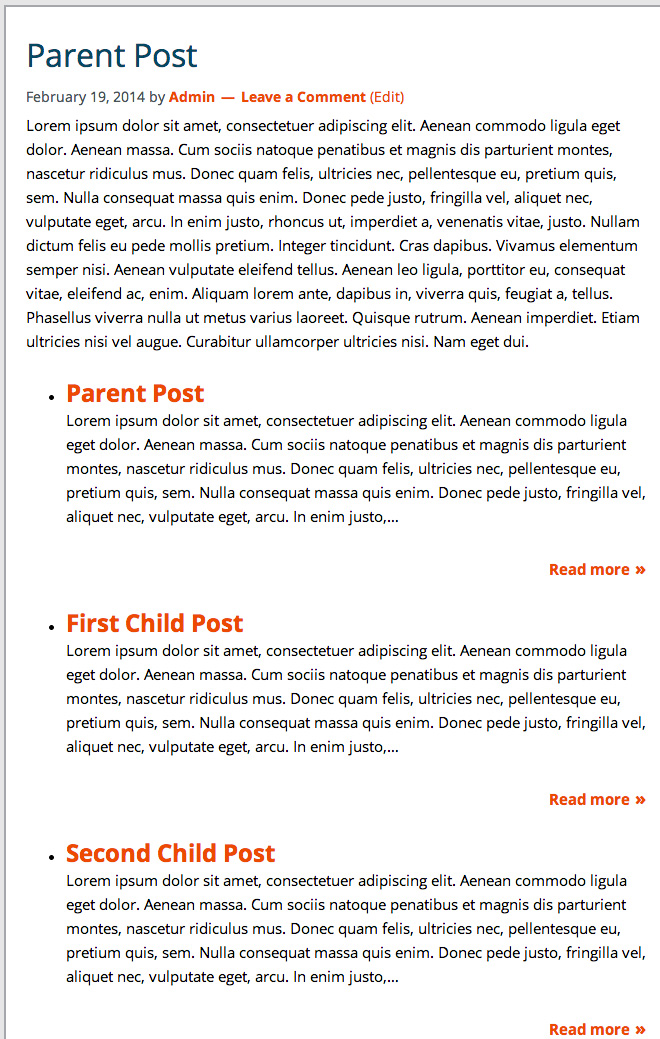
Time to update the post (press ‘Update’ on the right) and take a look at the front end. Click View Post to go to the front end. We now see our post and the connected posts.
Using the Post Connector Widget
Instead of using a shortcode we can also use the Post Connector widget. Therefore we will remove the shortcode from our example Parent Post and go to Appearance -> Widgets in our admin menu.
There we add the ‘Post Connector – Show Children’-widget to our Primary Sidebar. We can immediately start filling the (required) fields:
- Title This title will show on the front page above the list of children. Since we’re listing related post, our title is ‘Related Posts’.
- Connection Select the connection you want to use in the widget. In this guide ‘Related Posts’.
- Parent Select the parent of which you want to show the children. You can select either one of the available items of the ‘parent type’ (in our example Posts) or you can select ‘Current page’. In the widget this means ‘the item that is currently displayed’. If the item that is displayed does not have children, the widget will be hidden.
- Display excerpt Selecting ‘Yes’ (as we will in this example) will show the excerpt of every child. Selecting ‘No’ will only show the titles of the children.
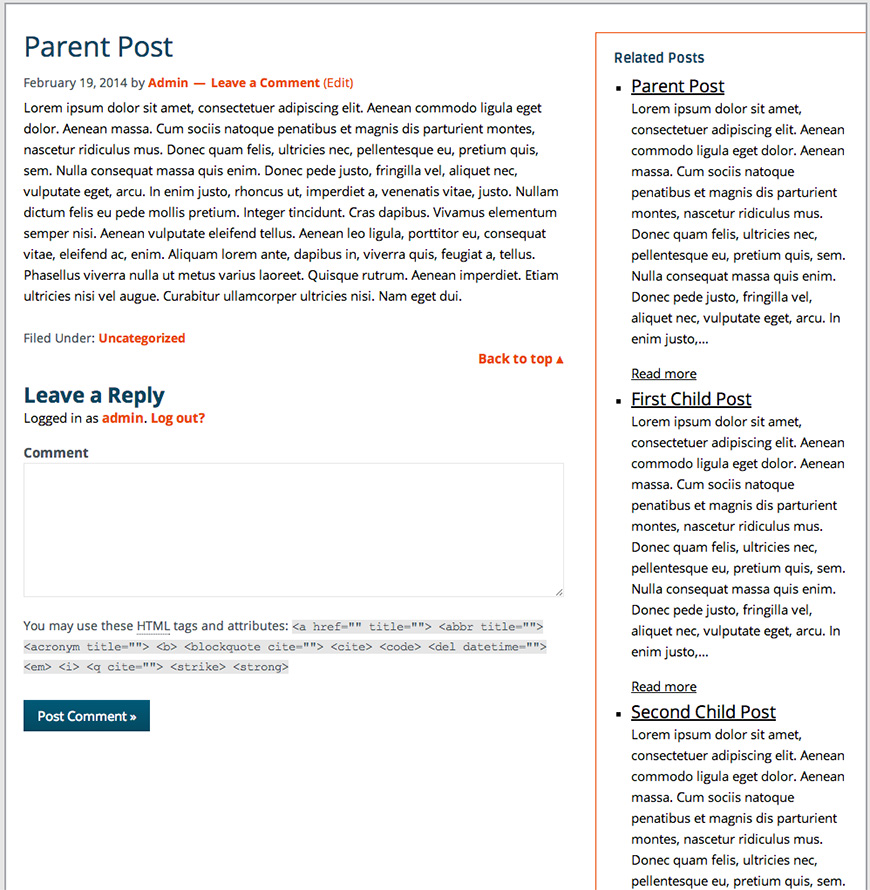
Press Save and go to the parent post to see the widget in action. In our example that looks like this:
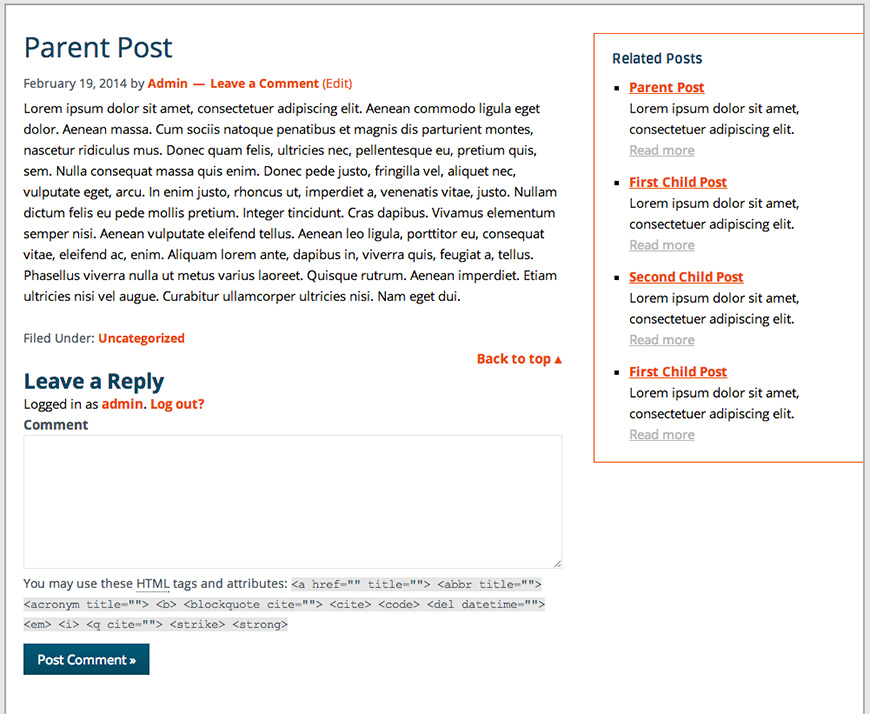
Example Result
And with a little CSS you can change the looks of your widget. For example:
This concludes our basic guide of Post Connector. You’ll find there are unlimited possibilities with this plugin. Have fun!